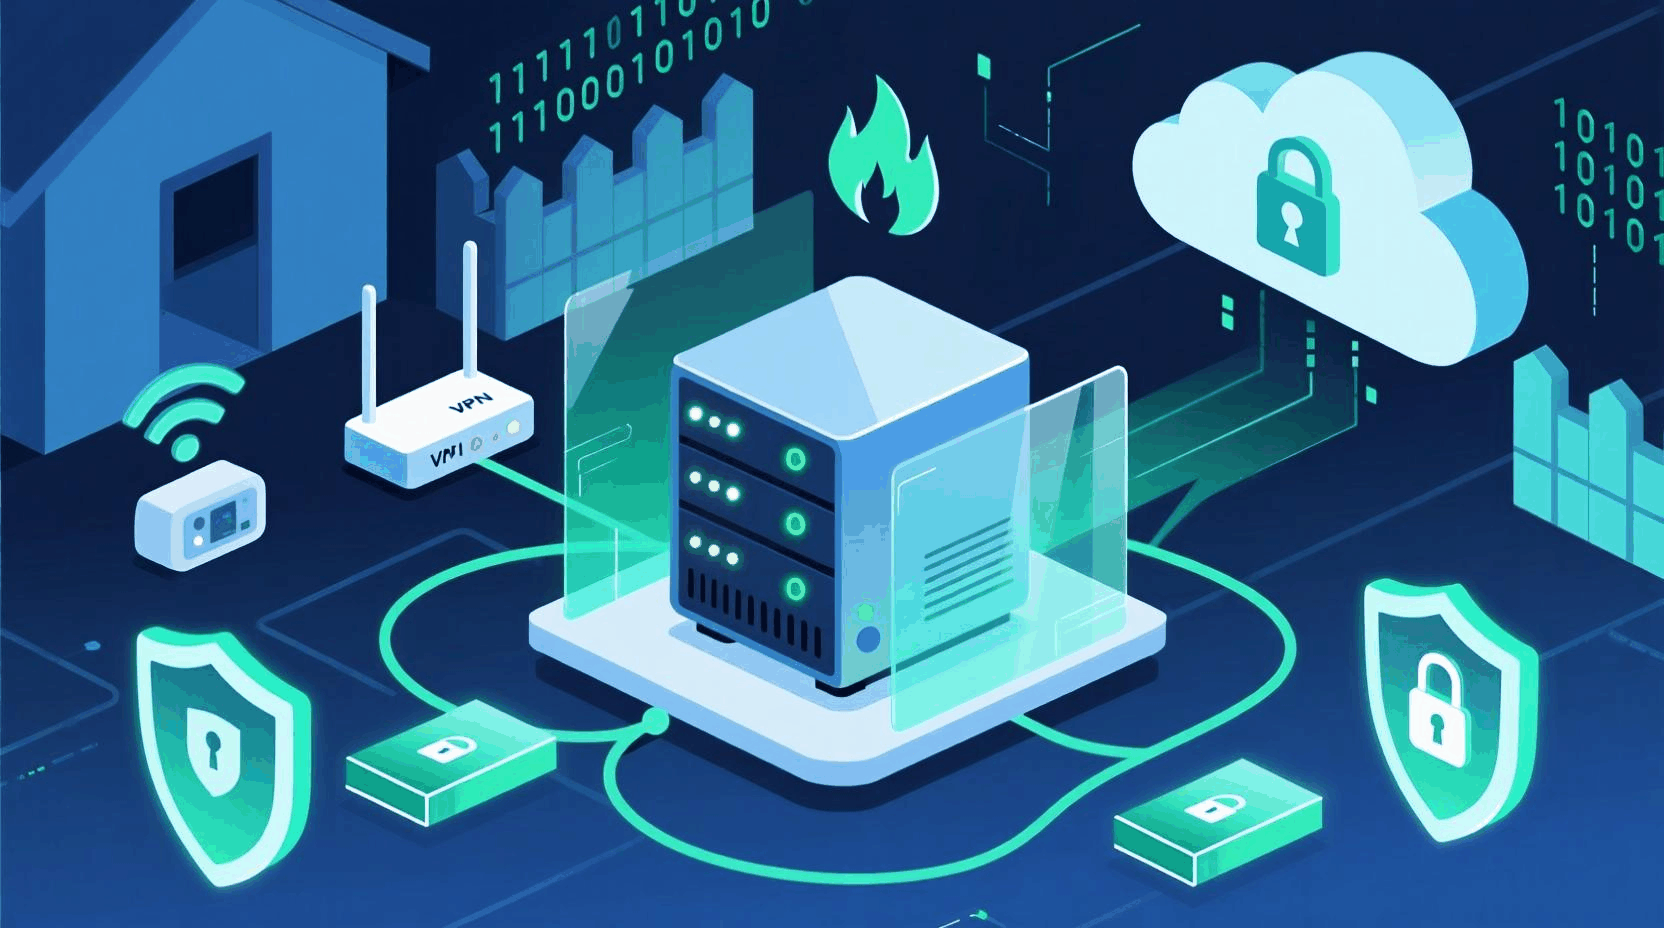
How to build your own VPN server at home?

Most people use commercial VPN services because they are quick to set up and easy to use. A private server at home, however, gives you full control over your data, security, and privacy. You avoid depending on companies that could log your information. If you set up your own VPN, you know exactly where your data goes.
Building a VPN server at home may sound complicated, but it is not beyond reach. With the right steps and some patience, you can create a secure system that protects your devices anywhere you connect. This guide shows you the process in simple terms.
Why Build Your Own VPN Server?
Control remains the main reason. Commercial VPNs decide how servers operate. With your own server, you manage the hardware, software, and configuration. You choose the encryption, the ports, and the policies.
Privacy is another big reason. Some services keep logs of your activity. When you build your own, no third party has access. Your traffic stays under your supervision.
Cost also plays a role. Instead of paying a monthly subscription, you use hardware you already own. Once set up, the only expense comes from your internet connection.
Requirements Before You Start
- A reliable home internet connection. Upload speed matters because devices outside your home will connect through it.
- A router or a spare computer that can run VPN software.
- Basic knowledge of your router settings and how to forward ports.
- Patience to follow the steps carefully.
Choosing the Right Software
Different software solutions exist. OpenVPN remains the most popular because it is open-source and widely supported. WireGuard is newer but faster and easier to configure. Both options provide strong security.
- OpenVPN: Very flexible, works on almost all platforms, highly trusted by the security community.
- WireGuard: Lightweight, simple, modern encryption, faster performance compared to OpenVPN.
Setting Up on a Router
- Log into your router's admin panel through a browser.
- Look for VPN settings. Many routers include options for OpenVPN.
- Enable VPN server mode and generate the configuration file.
- Export that file to your devices and import it into your VPN client.
Once done, your router acts as the VPN server. Every device on your home network gets protected, and you can connect remotely when outside.
Using a Dedicated Computer
A spare computer or a Raspberry Pi makes a great VPN server. The process requires software installation but gives you flexibility.
- On Windows: Install OpenVPN server software. Configure certificates, keys, and firewall settings.
- On Linux: OpenVPN or WireGuard can be installed with terminal commands.
- On Raspberry Pi: PiVPN automates setup for OpenVPN or WireGuard.
The advantage of using a dedicated device is separation from your main computer. Even if your PC crashes, the VPN server remains online.
Port Forwarding and Dynamic DNS
Your VPN server needs to be accessible from outside your home. To do this, you must forward a port on your router to the server. Common ports include 1194 (OpenVPN) or 51820 (WireGuard).
If your home internet uses a dynamic IP that changes often, you need Dynamic DNS (DDNS). DDNS gives you a constant web address, like myvpn.ddns.net, which points to your home network even when the IP changes.
Configuring Devices
After your server is online, you must set up clients. Phones, tablets, and laptops need the configuration files you generated.
- Install the VPN client app (OpenVPN Connect or WireGuard app).
- Import the file or scan a QR code (WireGuard makes this easy).
- Connect using your home credentials.
Security Considerations
- Always use strong encryption (AES-256 for OpenVPN, ChaCha20 for WireGuard).
- Protect your keys and certificates.
- Keep your router or computer updated with the latest security patches.
- Use a strong password for your admin panel.
Pros and Cons of a Home VPN Server
Pros:
- Full control over data and security.
- No monthly fees for third-party services.
- Access to home network files remotely.
Cons:
- Dependent on your home internet speed.
- Setup requires time and technical effort.
- No global servers like commercial VPNs.
When to Use a Home VPN vs Commercial VPN
Your own server works best when you want private, secure access to your home network. It is ideal for connecting to home devices, streaming your own media library, or browsing privately.
Commercial VPNs are better if you want to unblock content from other countries. A home VPN cannot bypass regional restrictions easily, since all traffic exits through your home IP. Many people use both: a personal server for security and a commercial VPN for streaming abroad.
Conclusion
A home VPN server gives you real control over your privacy. The setup takes time, but the benefits are worth the effort. With the right hardware, software, and careful configuration, you create a secure tunnel that protects your traffic anywhere in the world.
Once you experience the freedom of managing your own VPN, you may never want to rely fully on commercial services again.


